At First Im Mahmoud Bakr
And im gonna demo you lot how to exercise this :

In briefly explicate :
so
Step one :
Open a Blank Document And hither I used 100 * sixty Cm
you may make it all Black or you lot chooze your ain color

Step 2 :
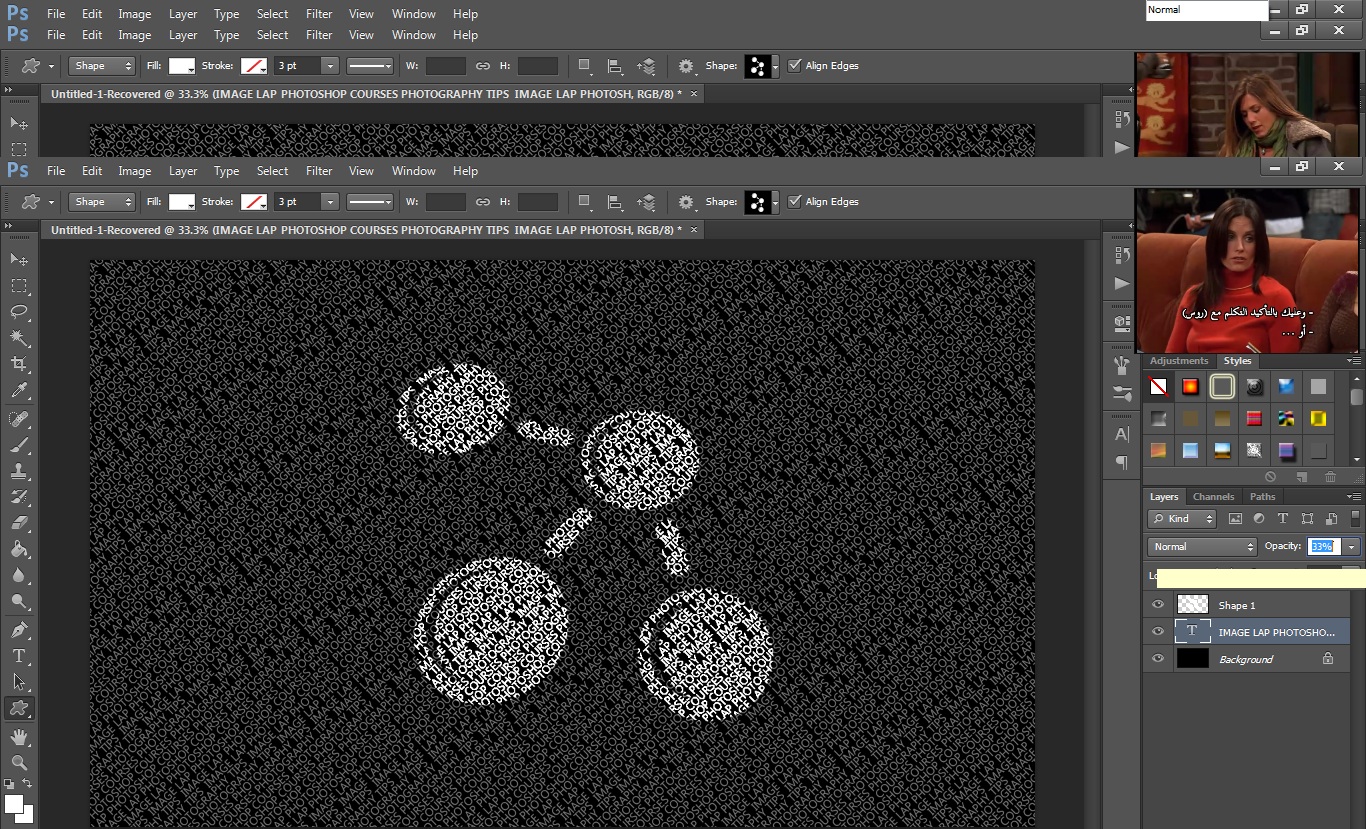
Chooze the Type Tool And select the whole image

Then Type the discussion you lot like . inwards this representative I used the website Header " IMAGE LAP PHOTOSHOP COURSES PHOTOGRAPHY TIPS "
You volition type the discussion as well as select it then "CTRL C" thence "CTRL V" until you lot create amount the document
of course of report you lot eill uncovering it difficult to exercise all that , thence what become far amend is that you lot tin brand a work or 2 as well as select it as well as thence by it . really slowly ha?


Step iii :
Now you lot volition grap the box as well as rotate it at a apecific Degree you lot Like
’lets only tell nosotros did it similar that

Of course of report you lot tin select whatever font ypu similar , here a collection of about fonts you lot tin choose too a color as well as Unleash your imagination
Step four :
So later nosotros did that nosotros prepared the document for the of import step
if you lot guide maintain a vector for your Image you lot would similar to select thence Grabe it
if you lot don’t larn How to Design it & presently it good endure inwards my site
But lets focus on this

I volition accept that Shape "our Logo " to use
we pose it inwards the middle of the moving-picture demo as well as resize equally nosotros desire as well as select its color as well as thence :
- caput for the box beside the its layer refer as well as " CTRl "+ Click
a marching ants look around
- Hide the layer
-on the layer "Right Click " as well as " Rasterize Layer "
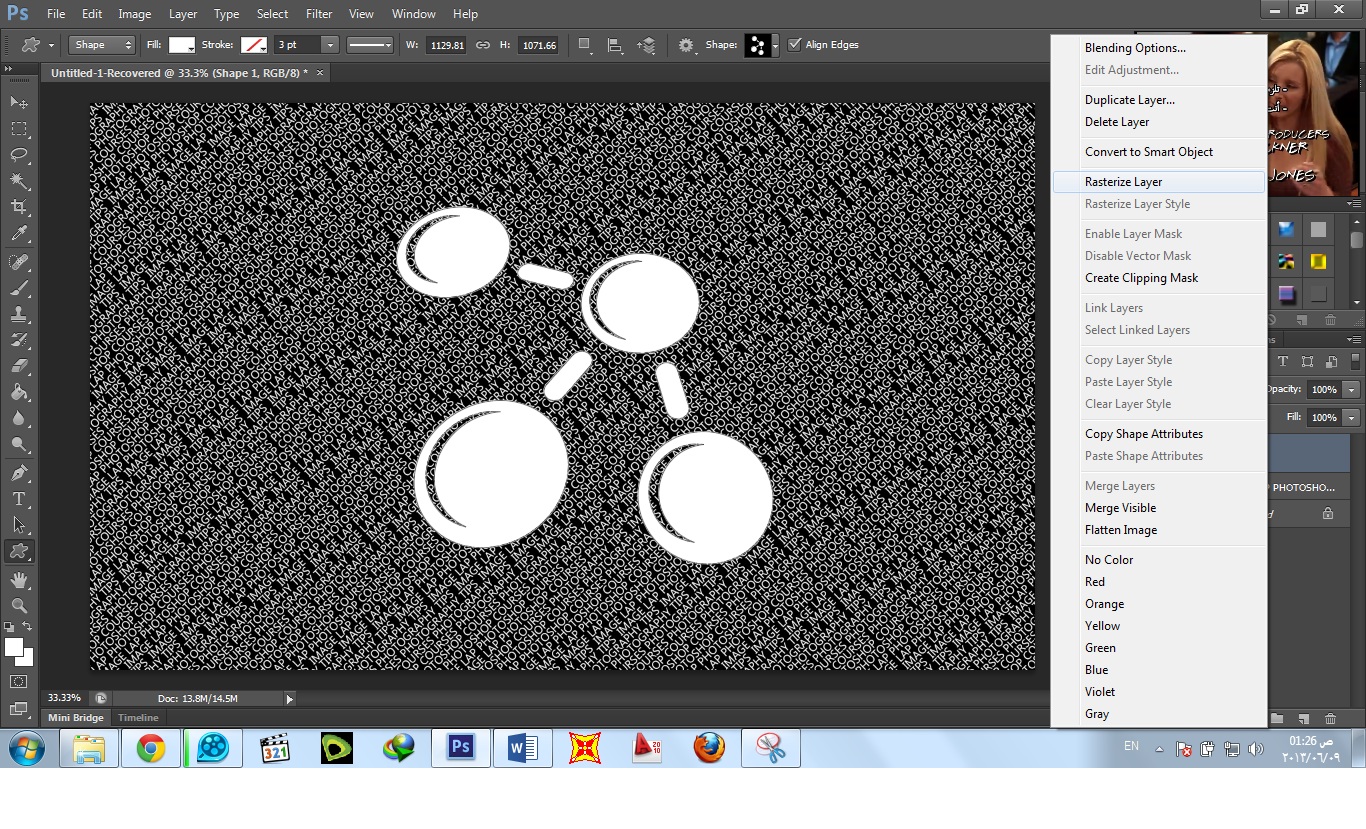
- Paint the layer amongst whit color or acolor which goes amongst the color of text you lot already choosed
- select the text layer thence cut down its opacity to half or less
-now slect the vector layer as well as modify its mood to " Color Dodge "
You volition uncovering this equally an expamle

Well you lot tin add together whatever you lot similar as well as exercise the same steps as well as too you lot may continue the text layer opacity equally it is.

Step five :
After all this nosotros came to the terminal Step
make a novel layer create amount it amongst whatever color as well as drib the create amount to Zero

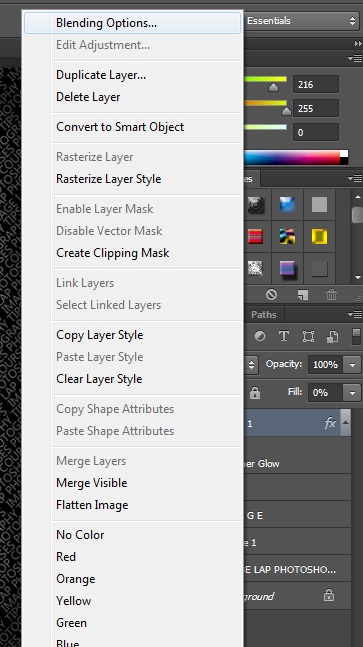
Then " Right Click" on it select "Blending Options"
Do similar the Pic down

And hither is the response of how to
Thank you
REMARk : PLZ if you lot similar house a comment if non house a comment to know if it deserve or not
Olso tell me what you lot desire me to create , I volition Respond
Thanks :


0 komentar
Posting Komentar